12 May 2008
How To Replace A Pouch Swing Latch

Over the last few years your old pal Captain Drew has noticed a renaissance in Renaissance Festival costuming, particularly in the area of leather pouches. In the Olde Dayes booths featured pouches with leather and bone toggles, or a complex series of rawhide lashes and laces. These looked great but they weren’t always convenient when you were looking to pull out Ye Olde Cellphone, and they were forever loosening up and dumping out Ye Olde Crappe onto Ye Olde Grounde. So it was with great rejoicing that the strange caste known as “Rennies” did embrace the wonderful world of tri-locks and swing latches. While they weren’t period accurate enough for the lore guardians of the SCA, they *did* appeal to the 21st century sensibilities of Ye Olde Rennies. Unfortunately, these handy latches and catches can break if you like to have lassies grind around in your lap as I do. But don’t despair me hearties, fixing these pretties be easier than slipping your cockatiel back onto his perch! AAWWWK!!!
Today we’ll be fixing a swing latch on a Durrow Cell Phone Case from one of Captain Drew’s favored suppliers, Renaissance Leather.
So take a look at the outside of the tongue of the leather pouch.
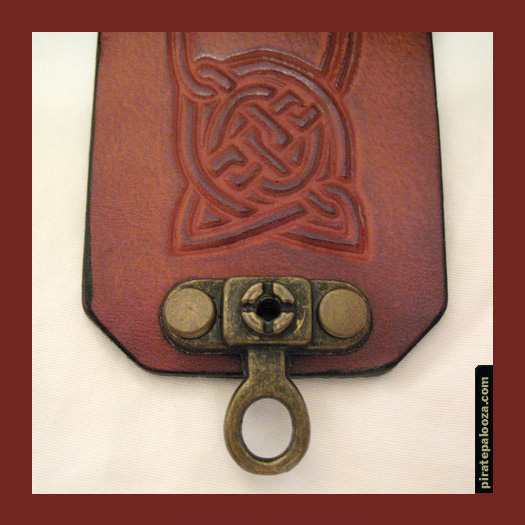
Notice the round bit with intersected by one vertical and one horizontal groove? That’s where the swing catch used to be. If you flip her over and look at the inside of the flap you’ll see two rivet heads.
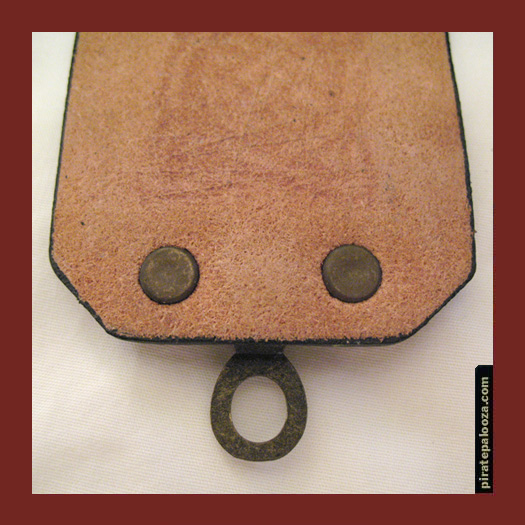
Like a ladie’s corset, it helps to know how these things go together before you go taking ’em apart… take a look at this diagram:
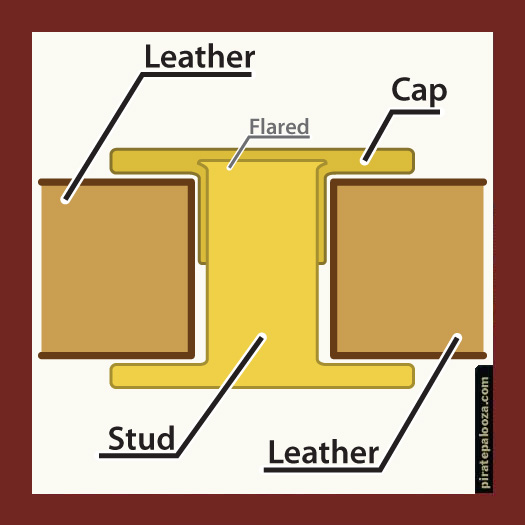
The rivets are made of two bits: the stud and the cap (not to be confused with the bad East German dramedy of the late 1980’s). The stud is longer (naturally) and fits (naturally) into the cap (unnaturally, but what the heck). During assembly the cap is hammered down so that the head of the stud “mushrooms” flat, preventing the stud from sliding back out of the cap.
So our task be to destroy the rivets in this busted swing catch without destroying the leather.
Step One: Remove the Cap
I had to call in me Pappy, Captain Bob, as a consultant on this step. He suggested simply lifting the cap away from the top of the stud. This he meant to achieve by the clever use of a set of pliers.
Gripping the cap with the pliers….
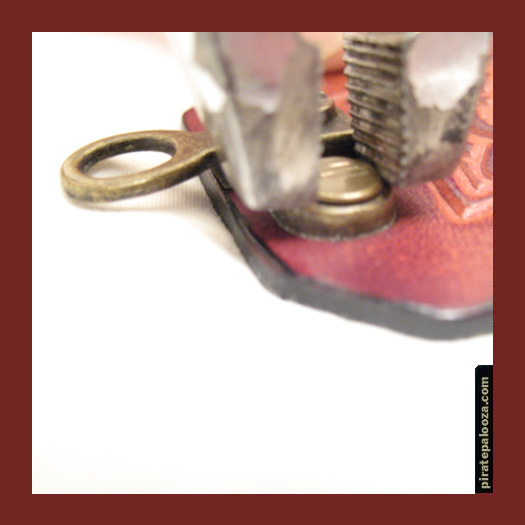
He squeezed gently and….
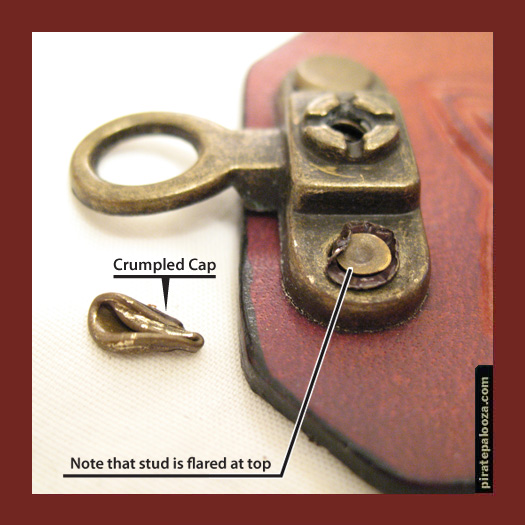
The soft, thin metal of the cap crumpled like a grape skin!!
The good news is that this exposed the top of the stud, allowing us to create the construction diagram shown previously. Aren’t you glad we tried this?
Okay, the next thing you need is a solid work surface, preferably an anvil with a flat striking surface. I did not have an anvil, so I used the next best thing, a 2″ thick iron radiation shieldplate from my spacecraft.

If you’re not lucky enough to own a fully armed intergalactic pirate ship, you might elect to use a steel plate or a very tough workbench or a thick piece of lumber.
At this point you’ll need a hammer and a nail set.
Take the nail set and center it on the “mushroomed” portion of the stud. Strike lightly at first with your hammer to ensure that you’re “on target”.
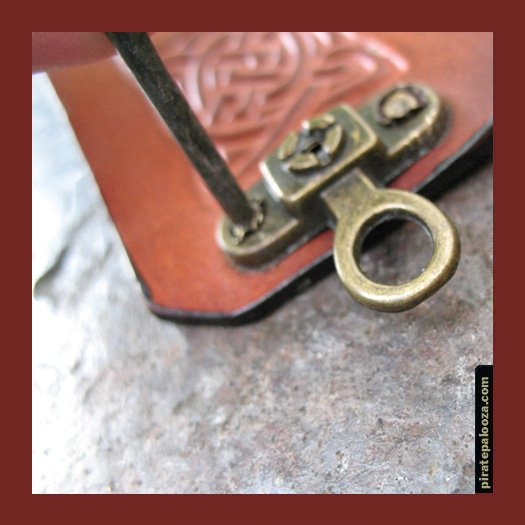
Your goal is to knock out the “mushroomed” portion of the stud and then to push the stud back through the leather.
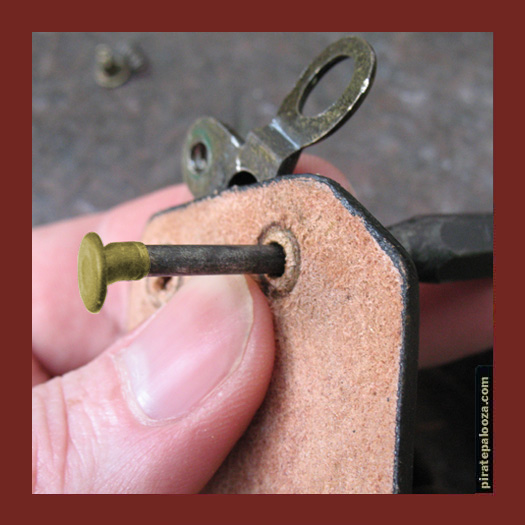
Note that I’ve altered the color of the stud so that you can tell it apart from the nail set.
Now all we have to do is replicate the previous assembly using a factory fresh swing latch. Just to be sure you understand what we’re doing, here’s everything you’ll need:
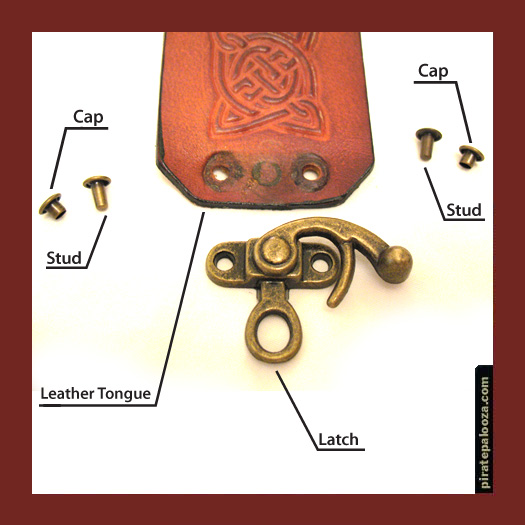
Now, with the exterior of the flap facing you, insert the studs from the interior of the flap. Then, set the swing latch over the studs.
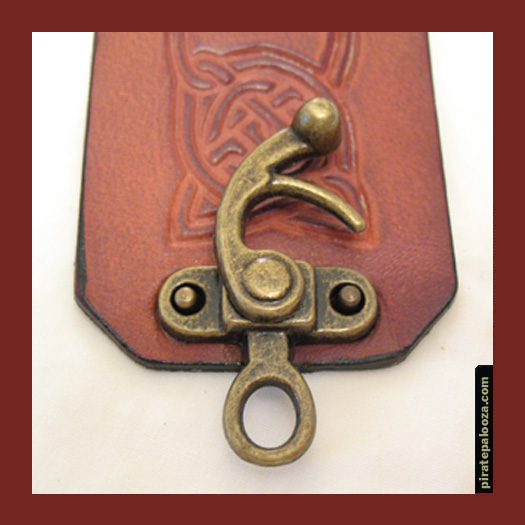
Next, set the caps into the holes in the swing latch so that they slip over the studs.
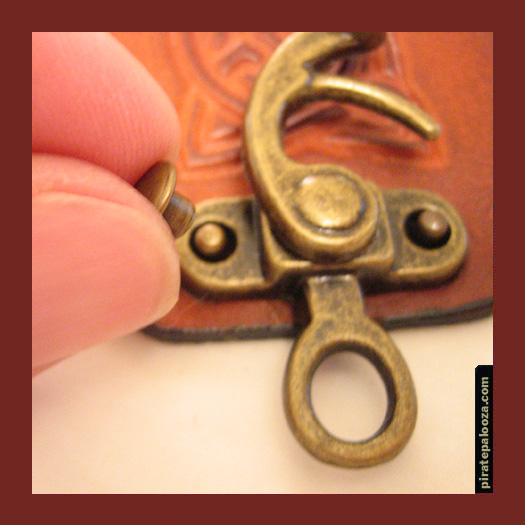
When you set the caps into place, you can go ahead and press down a bit to seat them into place. Be careful as you move toward the anvil, so as not to lose any of the parts. Once you’ve set both caps into place set the piece onto the anvil so that the exterior side faces upward (the caps will be facing you). Strike the caps lightly with your hammer, making certain to keep the piece firmly pressed down onto the anvil so that the stud is pressed all the way up into the cap.
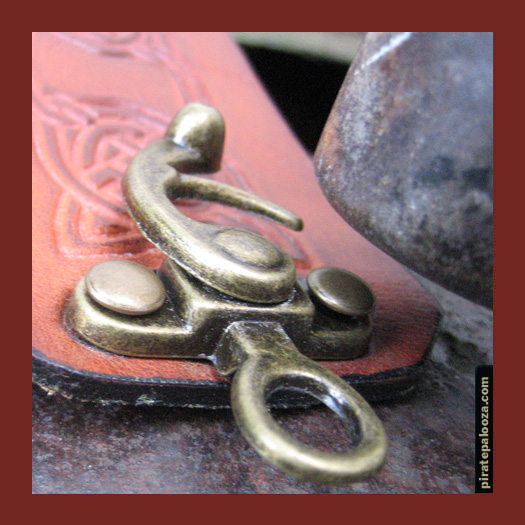
The repeated strikes should flatten out the cap in short order, thereby forcing the top of the stud to assume the “mushroom” shape seen previously.
And there you go, you’ve just repaired your pouch!
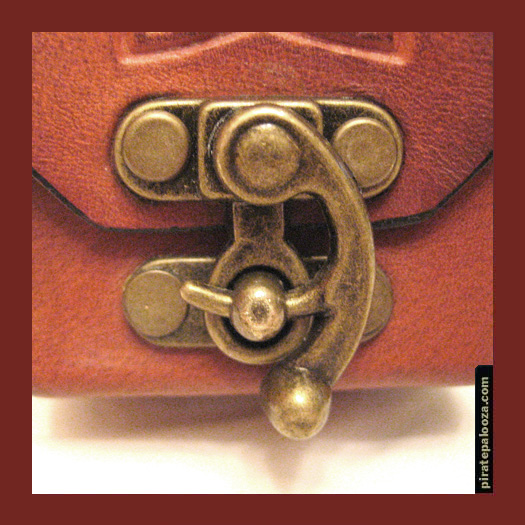
Aren’t you quite the artisan?
Note: If possible, I advise buying from vendors who fashion their own wares as they’ll be able to supply you with replacement parts. Many vendors will offer repairs for faults in craftsmanship, but don’t expect them to repair or rebuild some piece of equipment gratis if you’ve been an idiot with it. But of course, you already knew that, didn’t you pumpkin?


Posted by Gary on 12.05.08 at 7:41 pm
Where can I purchase these swing latches?
Posted by drew on 12.05.08 at 7:41 pm
These replacements came from the manufacturer of Captain Drew’s original pouch, but the first place you might try is Tandy Leather or a well-stocked fabric supply store. Alternately, you might inquire with a Renaissance Faire leather supplier to see if they would be willing to act as a reseller.
Posted by Donnie on 12.05.08 at 7:41 pm
You can buy this at http://www.hardwareelf.com/elfapp/jsp/latche_page.jsp
Posted by CargoshortViking on 12.05.08 at 7:41 pm
Those latches can be purchased fro a company called Ohio Travel Bag. http://www.ohiotravelbag.com
Hope this helps!